Retroberry Zero User Guide
Much of this guide is paraphrasing the RetroPie wiki.Each section has links to the respctive retropie wiki page. For a much more in-depth guide on using RetroPie visit https://github.com/RetroPie/RetroPie-Setup/wiki.
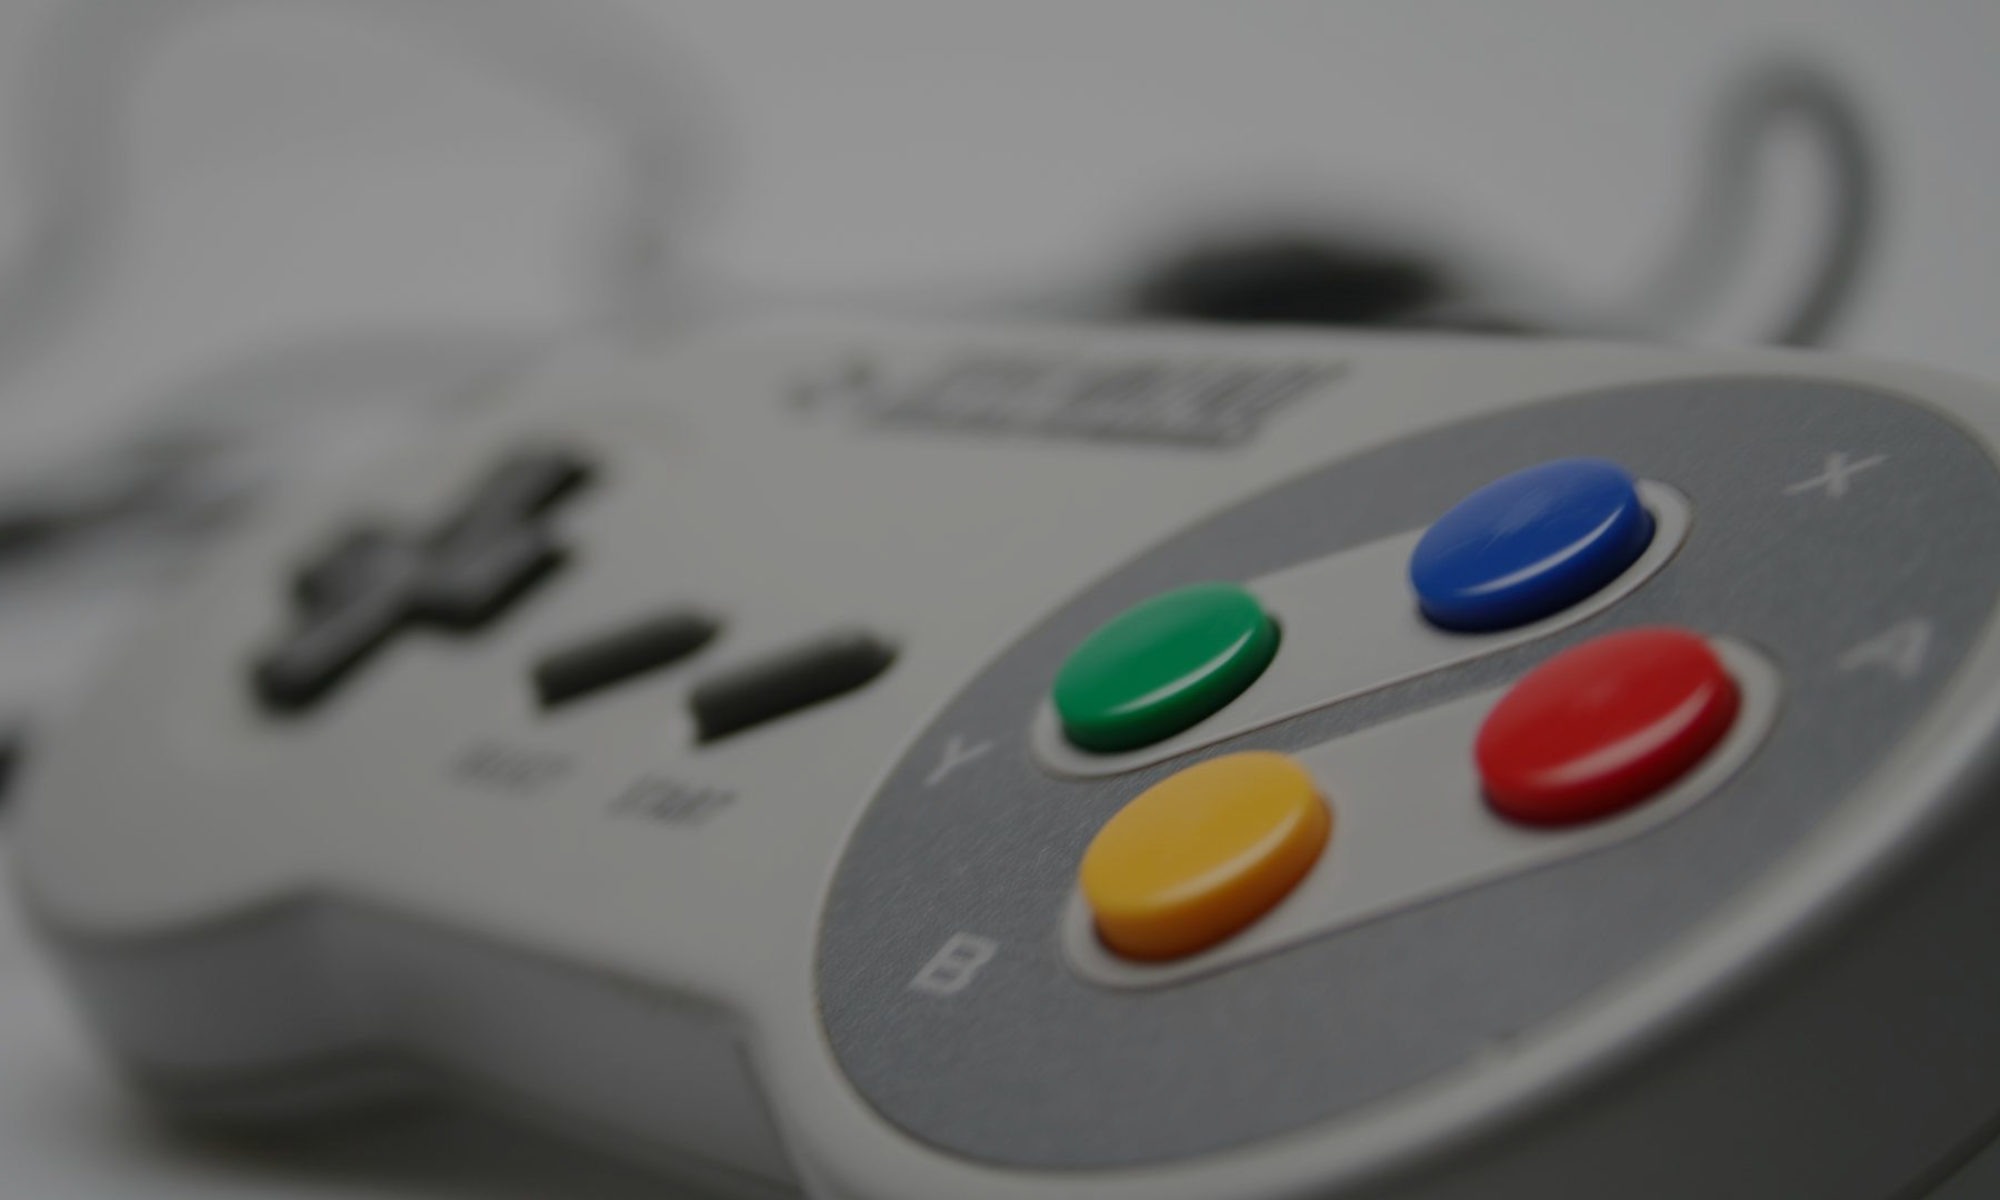
Any controls specified in this document only apply when using the default button configuration. Buttons & combinations of, will be denoted by encompassing square brackets.
Index
First boot
In the box
Configuration
Basics
Bluetooth connection setup
WIFI connection setup
Uploading ROMs
Enabling SFTP (wifi file transfer)
Web scraping
Enabling achivements
Power saving
Factory settings recovery
Intermediate
SSH
Custom Splashscreen
Enable play from remote NAS
Flashing SD cards
Advanced
Per game configuration
Control configuration
Achievement configuration
Custom themes
Game development
Manual WIFI setup
External resources
Retroberry.tk
Retropie wiki
Sudomod
First Boot
In the Box
In the box with your console will be a charging cable and a compatible HDMI cable. For first boot we recommend connecting the Retroberry Zero to a power source and display using the provided cables. If you want to connect to WIFI you must also connect a Bluetooth or USB keyboard to complete the setup process. Once the following setup process is complete you may disconnect any unneeded peripherals and play.
Configuration
Whilst setting the device up a keyboard will be required and we recommend connecting the device to a HDMI display. A micro USB adapter and mini HDMI cable are provided. Once connected turn the device on.
Once the boot process is complete, you will notice you only have one menu option. Settings. Thats because you need to upload some ROM’s before console options appear in the menu. But before that there is a small bit of configuration to do.
The first thing to do is pair the RBZ with any Bluetooth devices you need for setup i.e. keyboard. See the ‘Bluetooth connection setup’ section of this guide for full instructions.
If you don’t need to pair any Bluetooth devices move on to the next step.
Now you should set up the WIFI, it doesnt need to be on all the time but its useful for scraping cover art and transferring roms wirelessly. See the ‘WIFI connection setup’ section of this guide for full instructions.
Once all of the prior steps are complete, if you would like, you can remove the USB keyboard and HDMI display.
After that you are going to want to upload some ROMs and get playing. To do that use one of the methods in the ‘uploading roms’ section of this guide. Then restart emulationstation. Now once you get to the main menu you will see options for consoles. When selected your roms for that device will be listed.
Basics
Bluetooth connection setup
Please note: Connection to an external monitor is advised and a keyboard wired or otherwise is required to complete this setup.
Currently the software lacks support for Bluetooth audio. There are hardware workarounds (see the mods section).
Bluetooth can be set up in the main settings menu, under Bluetooth. To pair with a device select pair in this menu, then it will ask for an authentication style. Try the first, then the second, and so on, one of them will work.
Once paired, when booting the Retroberry Zero will automatically
discover & connect-to available devices.
WIFI connection setup
https://github.com/RetroPie/RetroPie-Setup/wiki/Wifi
Please note: A keyboard, wired or otherwise, is required to complete this setup. Connection to an external monitor is advised.
WIFI can be set up in two ways.
The graphical interface, available in the main settings menu under WIFI. Then select connect to a wifi network. Select your access point and enter your credentials. Press ‘ok’. It will notify you that it is connecting and then take you back to the first screen. To confirm you are connected your ip should be displayed in the top left, if you plan on using ssh or sftp now would be a good time to note it down. If it is connected, hit [B] then [A] to exit.
Alternatively you can manually edit the /etc/network/interfaces file. See manual WIFI setup in the advanced section.
Uploading ROMs
ROMs must be transfered to console-specific folders on the SD card, located at /home/pi/Retropie/roms/(Retro console name).
The last section of that directory is the name of the retro console the ROM is for.Uploading ROMs has a three methods, SD tranfer, USB transfer & FTP transfer.
SD Transfer
SD transfer is the simplest method.
All you do is press the micro SD and it will eject. Then insert it into the device that has the ROMs you want to transfer. Emulationstation must be restarted before new ROMs become visible in the menu.
SFTP Transfer
SFTP transfer, achieved using a network connection. We recommend plugging the device into a power supply when transferring allot of data . First the RBZ must have FTP transfer enabled (disabled by default for security). Next acquire the IP address of the RBZ, this can be seen on the WIFI settings menu.
Then using your file browser select connect to server and when prompted for an address type sftp://xxx.xxx.xx.xx replace the xs with the address of the pi. You will then be prompted for the user and password and if you haven’t altered these it will be (pi) user (retroberry) password.
The file browser will then open the home directory of pi. From here navigate to /Retropie/roms/(Retro console name)
USB Transfer
USB transfer is done by putting your ROMs onto a USB drive, plugging the USB drive into the RBZ and then using the file browser in the setting menu to transfer them.
Enable SFTP access (NAS)
Navigate to the Retropie settings menu, then select raspberry pi setup. In the next menu select XXXX then select XXXX to enable file sharing via SFTP
Web scraping
https://github.com/RetroPie/RetroPie-Setup/wiki/scraper
Web scraping can be done by pressing [select] then selecting ‘scrape now’, here you can set your scrape settings.
We recommend you select ‘user decides conflicts’ otherwise you can end up with many mis-labled games. Selecting this means you have to oversee the scraping process, when it cant decide what the ROM is, you pick from a list of possibilities.
Enabling achivements
Please note: Connection to an external monitor is advised and a keyboard wired or otherwise is required to complete this setup.
To enable achivements you must first have an account with http://retroachievements.org/ , which is free.
Next, make sure your RBZ is connected to the internet.
Now in the retropie settings menu select ‘retroArch’, select achivements, log-in, enter your credentials for retroachivements.org and thats it, achivements are now enabled.
Updates
https://github.com/RetroPie/RetroPie-Setup/wiki/Updating-RetroPie
DO NOT use sudo apt-get update, upgrade or anything similar.
DO NOT select update in the raspberry pi settings manager
Doing so will require you re-install the OS and use our recovery tool to restore the configs.
Only update Retropie & the libretro emulators
Power Saving
There are a few ways to optimize power saving;
retropie setup script, run commands, core profile.
disable WIFI & Bluetooth
disable audio driver
Factory settings recovery
Please note: Connection to an external monitor is advised. A
keyboard, wired or otherwise, is required to complete the recovery/setup process.
We have a free recovery tool, it is for resetting messed up or buggy configurations. It overwrites all configuration files leaving your ROMs intact. You can also use this tool to quikly setup a fresh install of RetroPie.
To recover to factory settings download our RBZ recovery tool.
Upload it to your RBZ drop to the prompt [ALT+F4], execute the tool, reboot. Your device will now have the default configs again.
You will have to setup WIFI and anything else you had configured, again.
Intermediate
SSH
SSH can be used to access the RBZs command line remotely with a remote device on a local network.
Connecting over SSH takes system resources and therefore reduces the performance of the RBZ whilst connected. We recommend disconnecting from the RBZ before using the device heavily.
Connecting to the Retroberry zero over SSH
First install an SSH terminal, for the purposes of this guide we will be using putty. Next, find out the IP address of your RBZ. It is available in the settings menu under ip address. Alternatively you can use a command line app to find it.
sudo nmap -sP 192.168.0.0-24 | grep -B 2 $YOUR_RBZ_MAC_ADDRESS | grep -Eo ‘[0-9]{1,3}\.[0-9]{1,3}\.[0-9]{1,3}\.[0-9]{1,3}’
will usually suffice under Debian. Or you can use an android app like fing to map your network. Now open your SSH terminal, ensure connection type is set to SSH, enter the IP address and then click ‘connect’. A warning may pop up, click ‘connect’ again. You will then see a login prompt for the RBZ. The default login credentials are (pi) user & (retroberry) password.
Using SSH
Opening the retropie_setup GUI
It is possible to change many settings using SSH and the retropie setup GUI. This allows you to change settings whilst a game is running on the device giving you an instant view of the effects. Once logged in type. sudo ./RetroPie-setup.sh/retropie_setup.sh Once the blue menu loads, select option C ‘Configuration \ tools’ This will display a chomprehensive list of settings and options.
Custom Splash Screen
https://github.com/RetroPie/RetroPie-Setup/wiki/splashscreen
To add custom splash screen files (JPEG or MP4) upload them to /home/pi/Retropie/splashscreens/yoursplashscreens/
The Splash Screen Menu can be accessed from the RetroPie Menu in EmulationStation
Ensure ‘Enable Custom Splashscreen On Boot’ is selected.
From here you can either create a list of splash screens or select just one.
Flashing SD cards with alternate operating systems
If your flashing retropie to an sd card and would like the factory configuration, use our factory recovery tool to get everything configured as quicly as possible.
Advanced
Custom configuration
Many different user configurations can be made. It is advised that you dont alter the default configuration. However here are a list of usefull modifications that can be made.
Control configuration
The controls can be re-mapped in two ways. Firstly they are mapped from GPIO press signals to keyboard presses which in turn is mapped to a in-game button.
An extensive guide on setting up the custom controls can be found here https://github.com/RetroPie/RetroPie-Setup/wiki/RetroArch-Configuration.
You can also modify button to keyboard mapping in /boot/retrogame.cfg. We recommend you do not edit the port numbers in this file just the keypress action.
Achievement configuration
Hardcore Mode
disables the savestates and is optional. If you want to enable it add this line to retroarch.cfg:
cheevos_hardcore_mode_enable = true
More/Less Achievement
Info
If

you want to see some more RetroAchievements related message right

after launching a game (such as successfull login and the number of

cheevos you have unlocked) you can use the Achievements Verbose Mode:
cheevos_verbose_enable

= true
Game development
SDKs

(source devlopment kits) are availible for many of the old school

platforms allowing you to program & distribute your own roms.

Here is a list of those kits, many thanks to the people that spent

many hours reverse-engineering them.
Mounting

a network share
a network share
Manual WIFI setup
The following are four different templates for /etc/networking/conf. Pick the template you need based on the security mode of the access point you are connecting to.
External resources
RetroPie Wiki (Operating system):